Showing posts with label DIY. Show all posts

Helen's New Hat

Helen's New Hat
Helen's New Hat
Helen's New Hat
Helen's New Hat
Helen's New Hat
Helen's New Hat

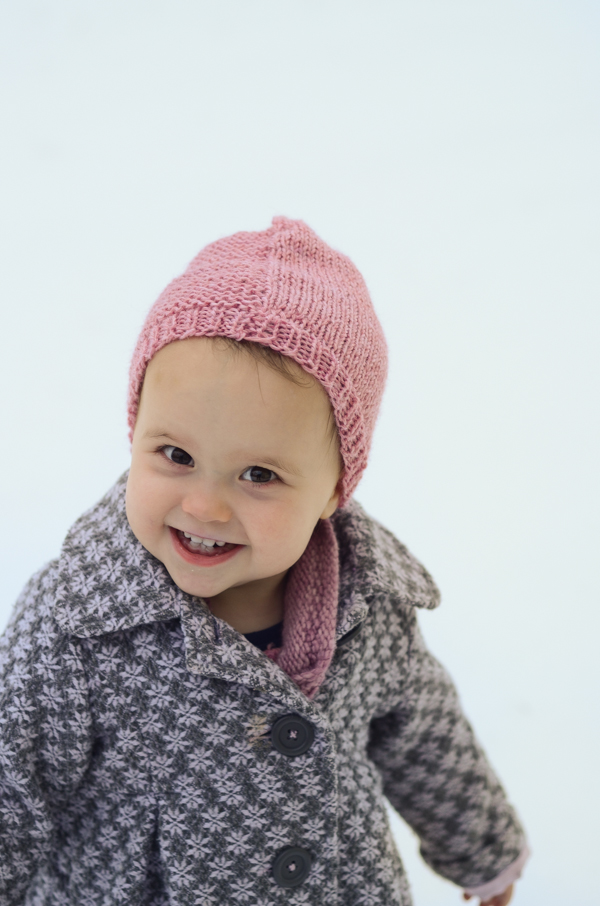
A few weeks ago Reuben's sister asked if there was any yarn that I wanted to buy from KnitPicks since they were making an order. Since she twisted my arm, I guess I had to. ;)

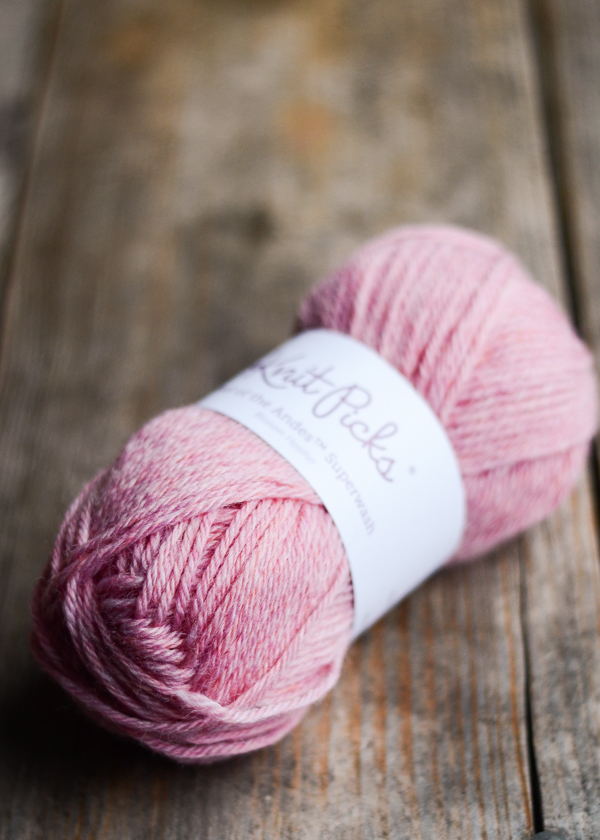
I bought a lovely skein of alpaca-wool yarn (I haven't decided what I'll make with it yet), two balls of light brown wool for a teddy bear for Helen, and a ball of pink worsted weight wool for a hat for Helen.

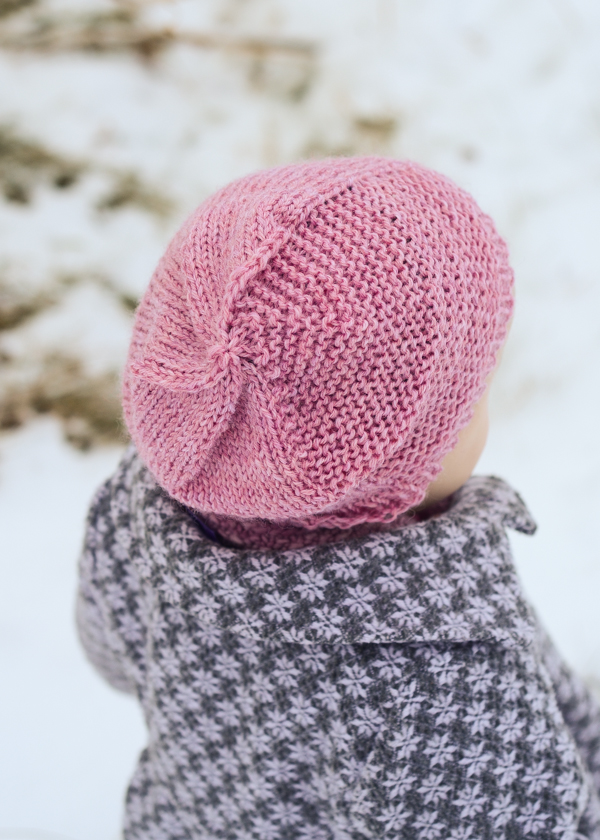
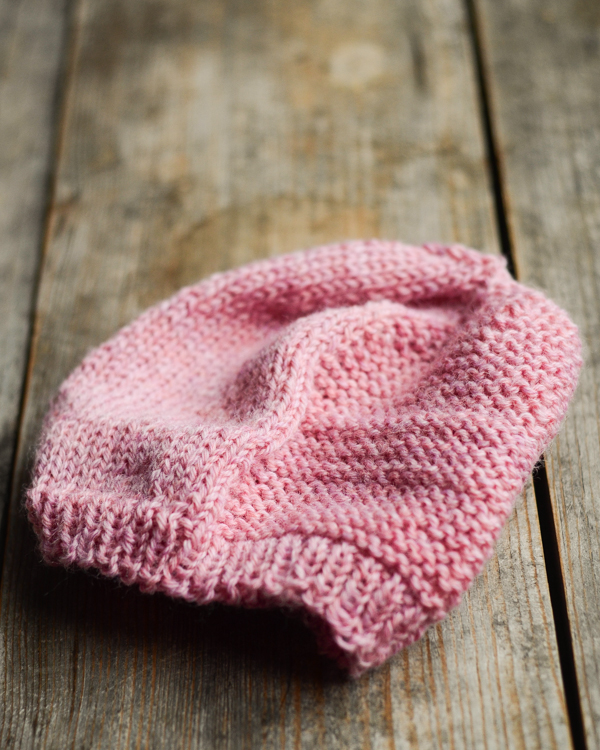
It was a very quick and easy knit. I opted to make it a bit slouchier, and I think it looks very charming on her. I like the section of garter stitch - it gives the hat a bit of added interest.


Project Details:

Pattern: Barley by Tin Can Knits
Yarn: Wool of the Andes in Blossom Heather
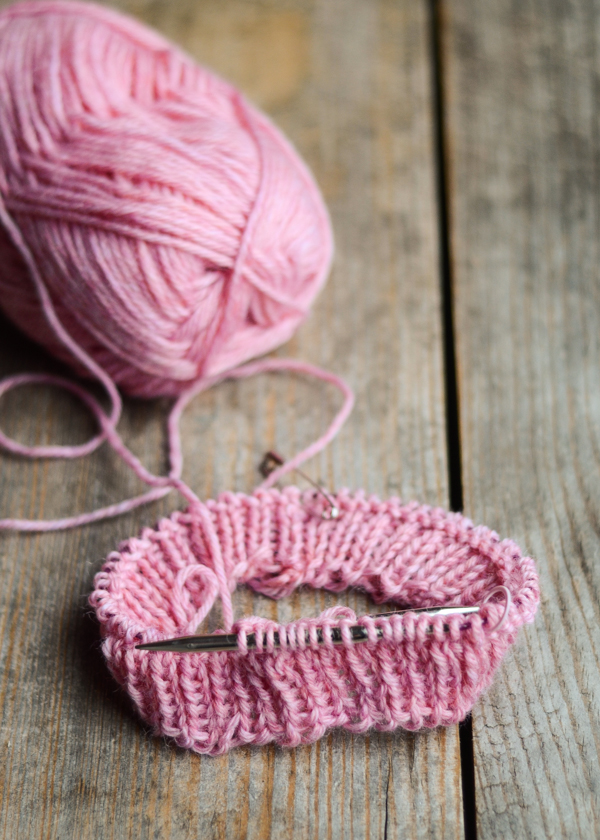
Needles: US 7 and 8, 16-inch circular and US 8 double pointed needles
My Ravelry Project Page: HERE


What have you been crafting lately?


DIY Chalkboard and Origami Wrapping Paper

DIY Chalkboard Wrapping Paper
Hello all. I know it's been a while (over a month - *gulp*) since I last wrote a blog post. I have been busy buying up the whole world (AKA shopping for Christmas).

Ever since I saw chalkboard wrapping paper on Pinterest I knew I needed some for myself. So when Terrain had an awesome Black Friday sale, or course I had to buy some of their black kraft wrapping paper. I believe they're sold out now, but you can still find it on Etsy HERE.

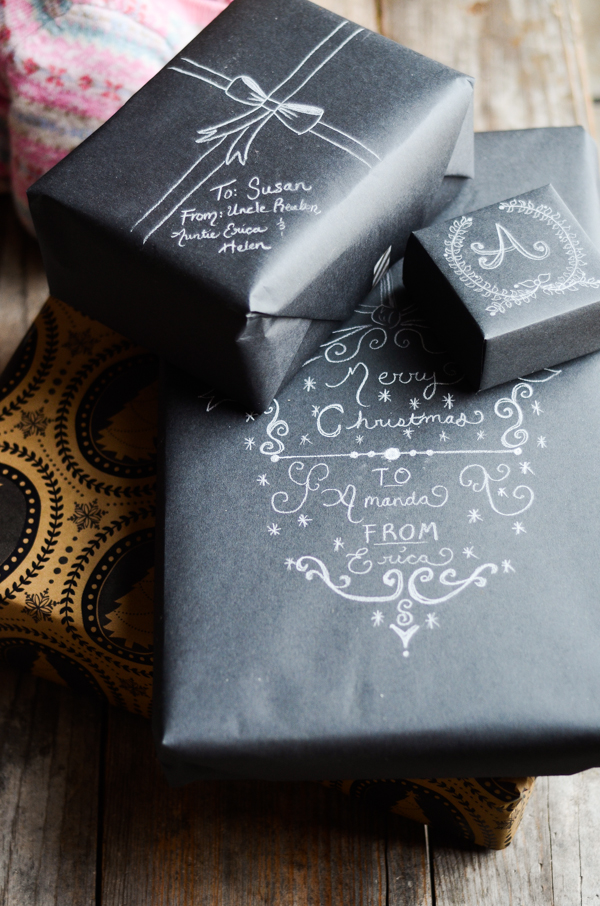
I used a white charcoal pencil to draw my designs. Here are a few of my favorites. Please don't make fun of my (horrid) wrapping skills.


DIY Chalkboard Wrapping Paper
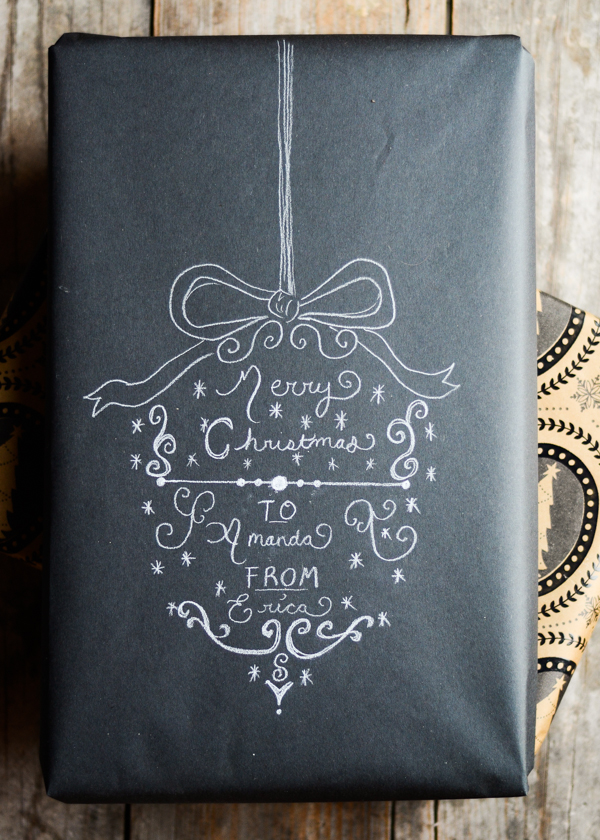
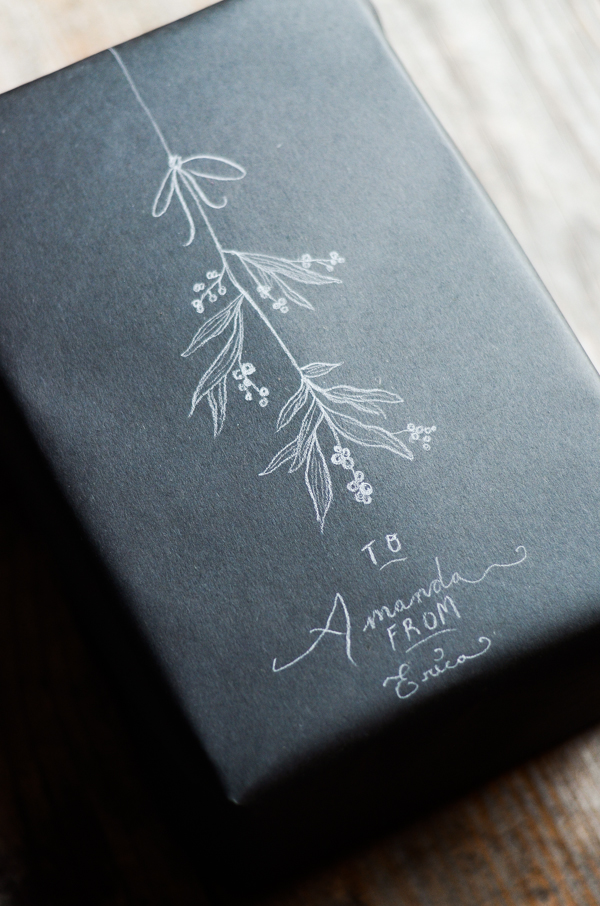
I think I'm the most proud of this one. I used this chalkboard sign from Etsy as inspiration.


DIY Chalkboard Wrapping Paper
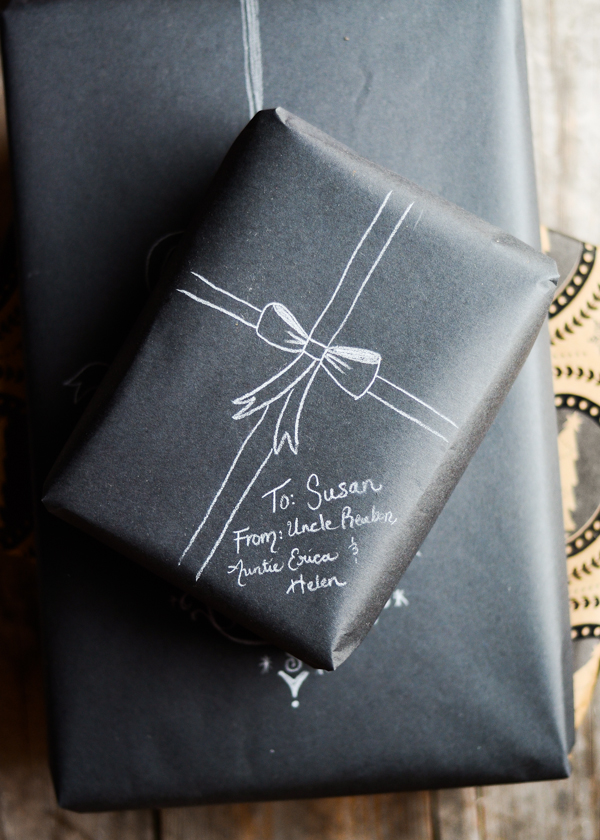
A tiny bow for out little niece Susan. Inspiration from this post by Going Home to Roost.


DIY Chalkboard Wrapping Paper
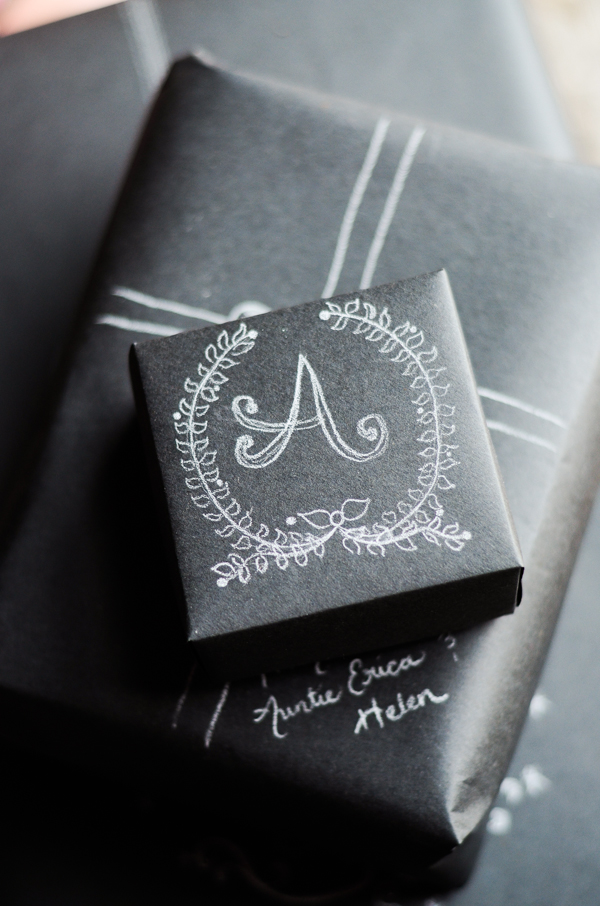
I made an origami box (more on that below) and used this free wreath printable as inspiration.


DIY Chalkboard Wrapping Paper
This is another one that I'm quite happy with. I used this photo from Pinterest as inspiration.


DIY Origami Gift Box
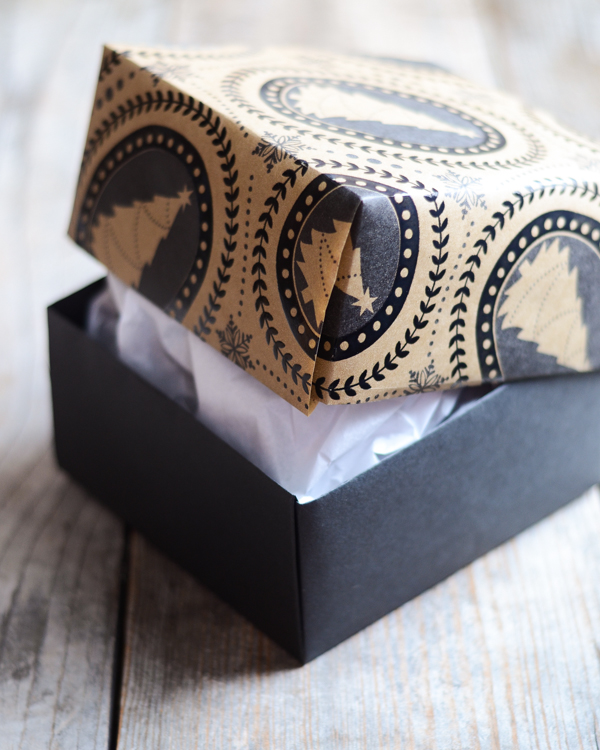
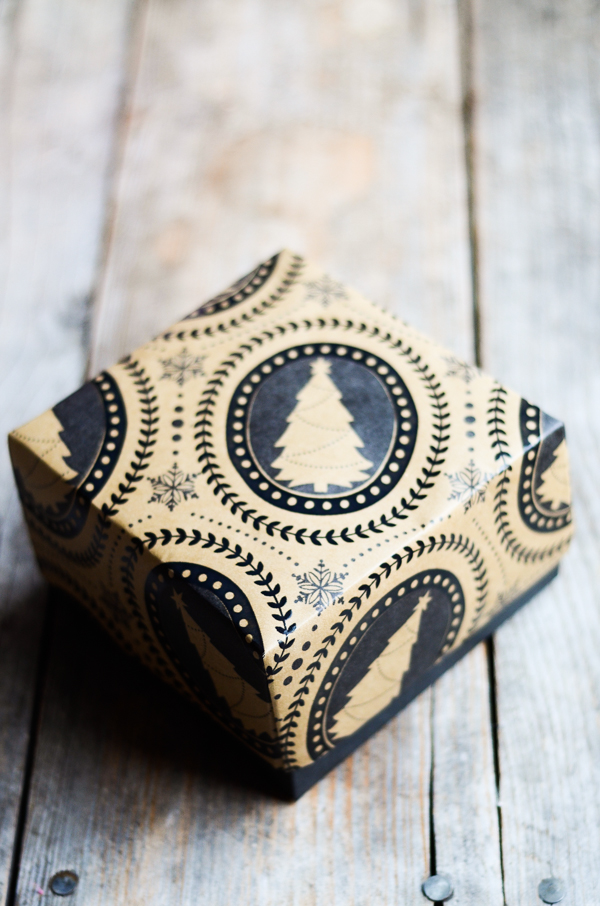
I couldn't find a box the proper size for a gift for my older sister, so I made an origami one. HERE is the tutorial I used. I used some wrapping paper that I had leftover from last year as the lid, and chalkboard paper as the bottom. It's a tiny bit lopsided, but I'm happy with the end result.


To sum up:

Buy the wrapping paper HERE.
Find the origami box tutorial HERE.
Use a charcoal pencil for drawing.
Search on Pinterest for design inspiration.


What are YOU doing for gift wrap this year?


Helen's "New" Chair

Helen's New Chair
Painted Chair
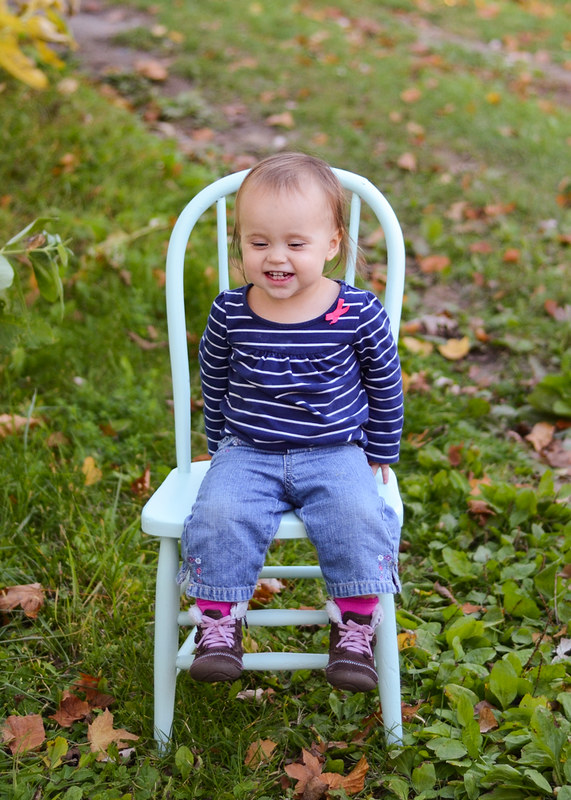
Helen's new chair

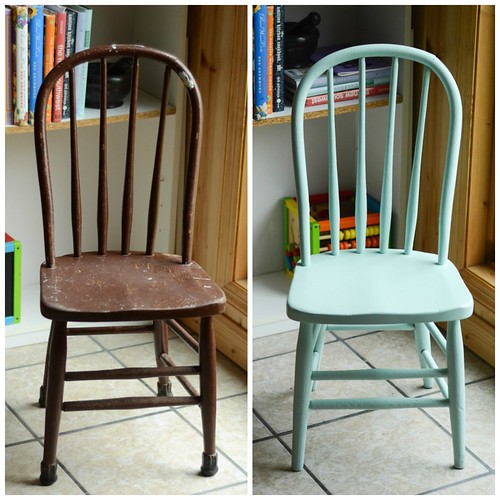
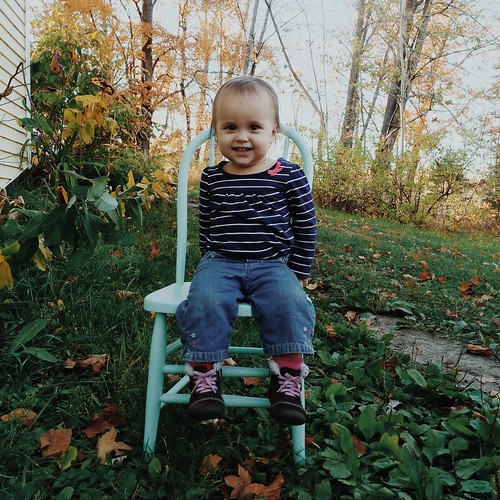
I've been wanting a little chair for Helen ever since she sat in Auntie Judy's rocking chair. Little did I know there was one right in our house! Reuben found a well-used children's chair hiding in our storage room. Immediately I thought of painting it. So I did some research about non-toxic paint and purchased a sample jar online

When my sister Audra and her kids got wind of my plans they wanted in on the process. Much to my delight they offered to sand the chair for me. Then on a windy and sunny afternoon I painted it. It took three coats.

I'm quite pleased with the results. Now I just need to buy/build a little table for Helen. Then I think her happiness would be complete. 


The sample size can was only around $4 or $5 when I purchased it. 


Note: Some links are affiliate. All opinions are my own. I wouldn't share something with you guys if I didn't like it.

Knitting Project: GOYA Writsters


GOYA wristers
GOYA wristers

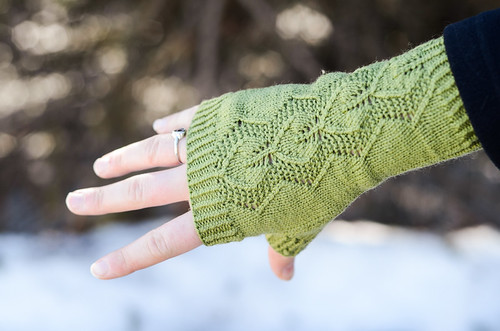
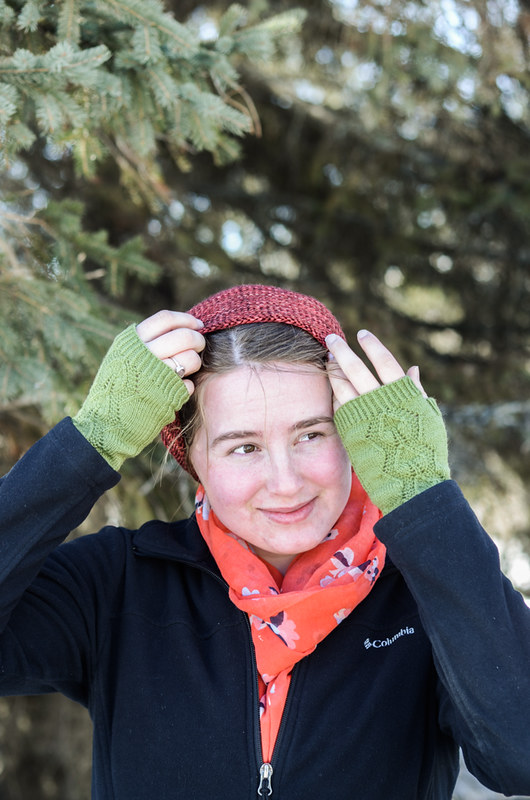
Last fall I finally finished these fingerless mitts that I started knitting for my sister's birthday the year before. I really like how they turned out.


Here are the details:

Pattern: GOYA wristers
Yarn: Knitpicks Palette in "Edamame"
Needles: US size 0
Ravelry Project Page

I would say that this pattern was intermediate. It's not particularly hard if you know how to knit in the round and pick up stitches for the thumb, but the yarn and needles are quite small and it takes a while to knit.

Here's hoping that the warm weather is here to stay and Katelyn won't have to use these until the fall!

How to Easily Resize a Shirt or Jacket | Tutorial

How to Resize a Shirt
Jacket and jeans: thredUP | Nursing top

In case you guys didn't know, I'm in love with thredUP. It's basically an online thrift store. I love scoring designer pieces for a fraction of the retail price.

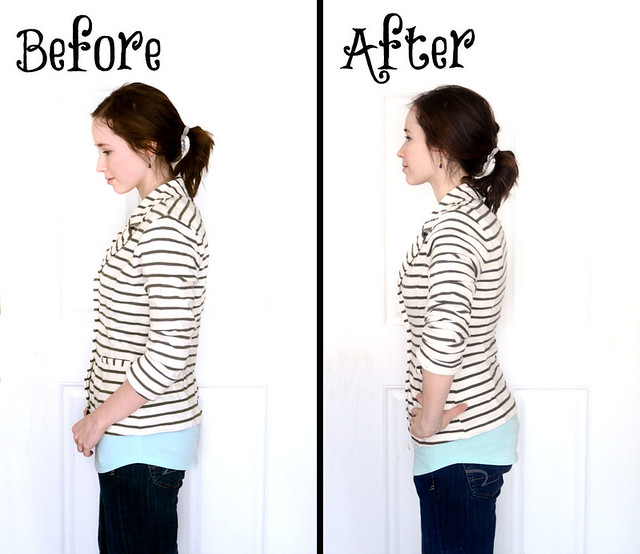
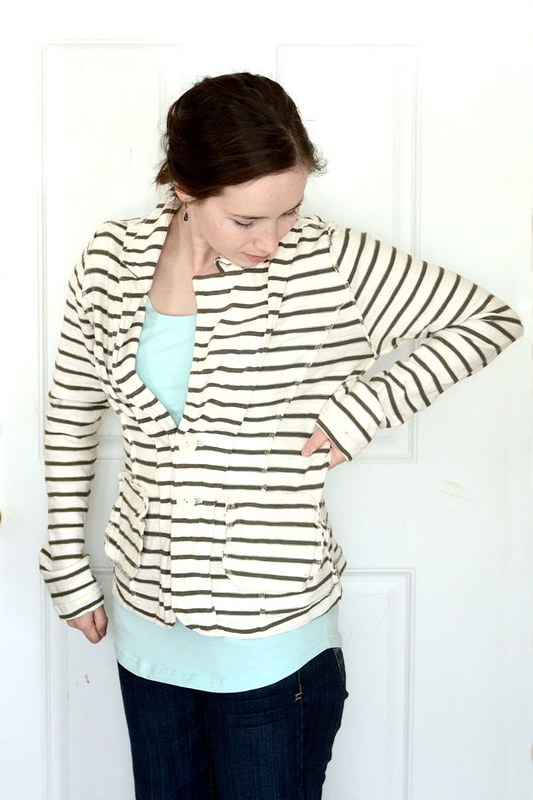
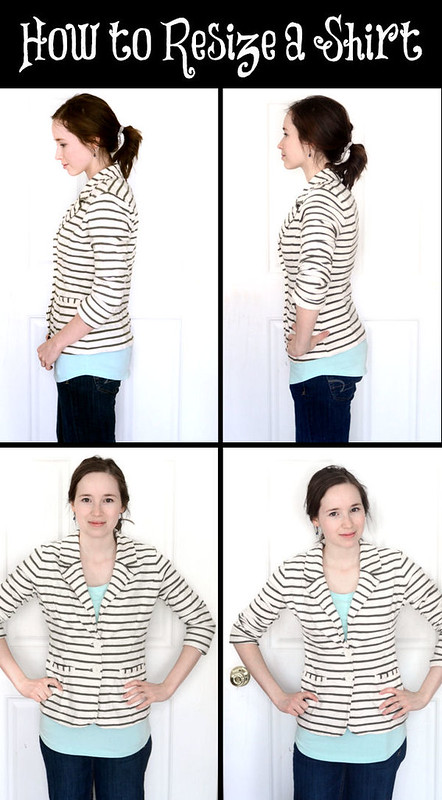
One of the problems with buying anything online is the risk of getting the right fit. I'm sure this jacket was meant to fit a little looser, but I prefer a more snug fit since I'm on the shorter side (5'2") and I don't want to be swallowed by my clothing.

It's super easy to take in a knit jacket or shirt. Let me show you how!


How to Resize a Shirt

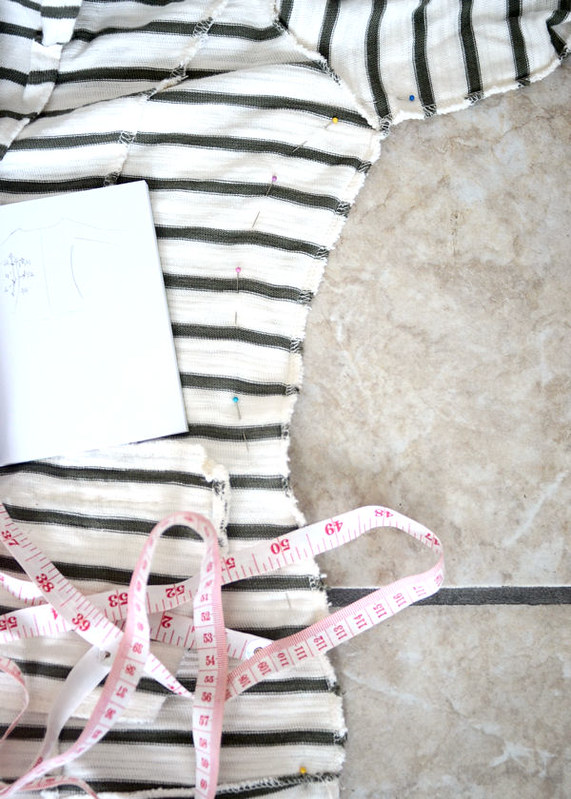
Start by putting your shirt on inside out. Grab the excess fabric with your hands and place pins all along the sides of the shirt.


How to Resize a Shirt
Carefully take off your shirt and lay it out on the floor or (if you're super cool) your work table.
Measure how much you need to take in at different points on the shirt and write it down (for example, at 3 inches from the armpit, how much do you need to take it in? How about at 5 inches, etc.?). I find it helpful to draw a diagram.
Remove the pins, make sure the shirt is laying flat and even, and replace the pins at the measurements that you wrote down. You can also draw a line along the pins to help you sew evenly.


How to Resize a Shirt
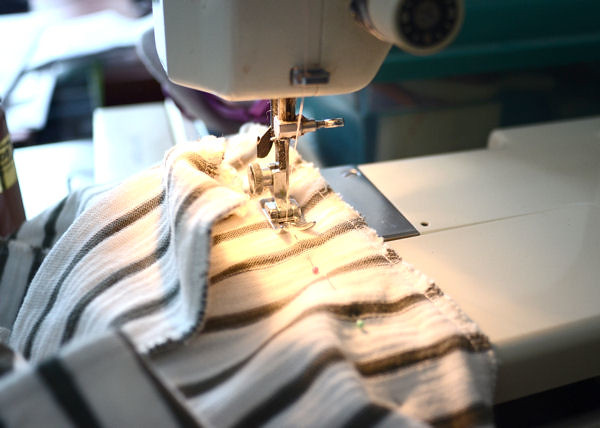
Sew along the pins, removing as you go. Try on the shirt to make sure you like the fit. 


How to Resize a Shirt
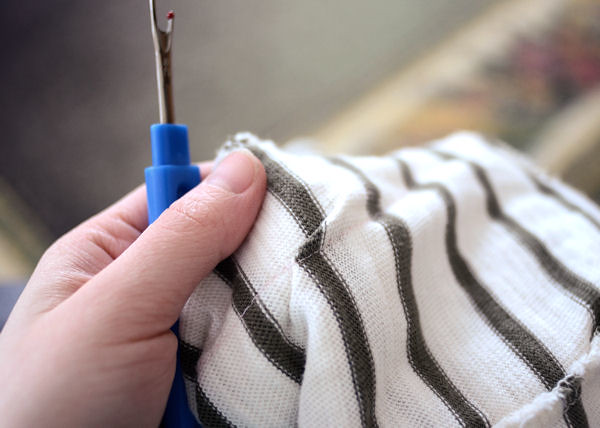
Don't worry if you make a mistake - your seam ripper is your friend! Simply pick out the stitches around the mistake, rearrange the fabric so it lays flat, and sew up the hole, making sure to sew back and forth a couple times and the beginning and end to makes sure it doesn't come undone.

If you're really particular you can iron your seam open, but I'm too lazy for that. I pull out my iron maybe once or twice a year.


How to Resize a Shirt
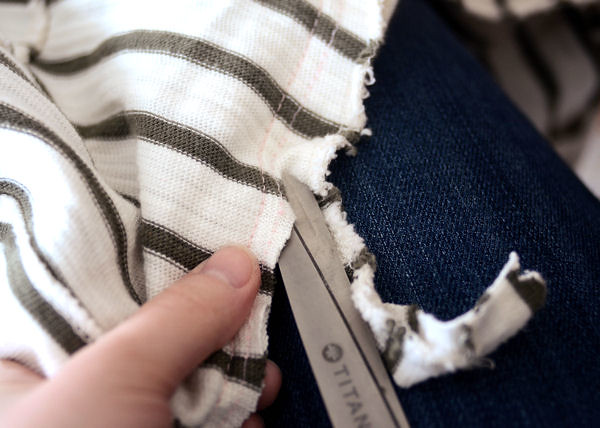
If everything is good to go, sew another line close to the one you already sewed, this time on the outer edge. If you have a serger you don't need to do this, but I like to sew another line to keep the edges from fraying.

Cut the excess fabric close to the sewing line.


How to Resize a Shirt

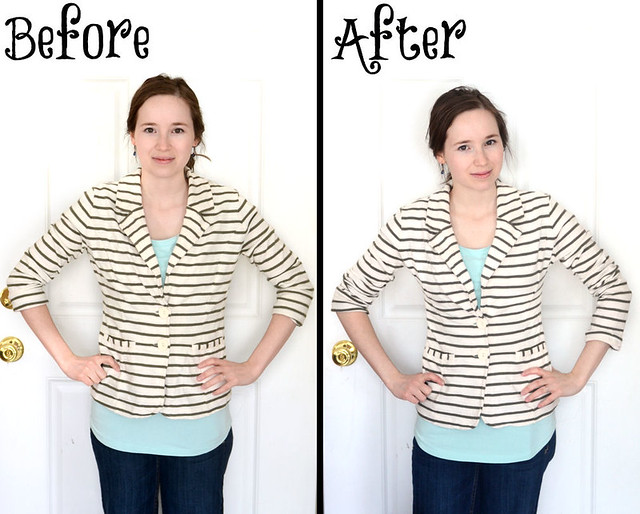
And there you have it: a nicely fitting jacket.


How to Resize a Shirt
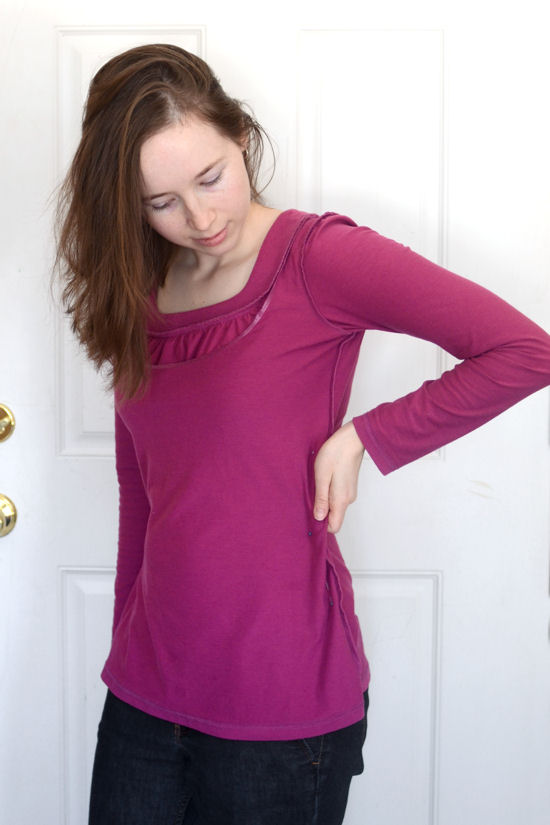
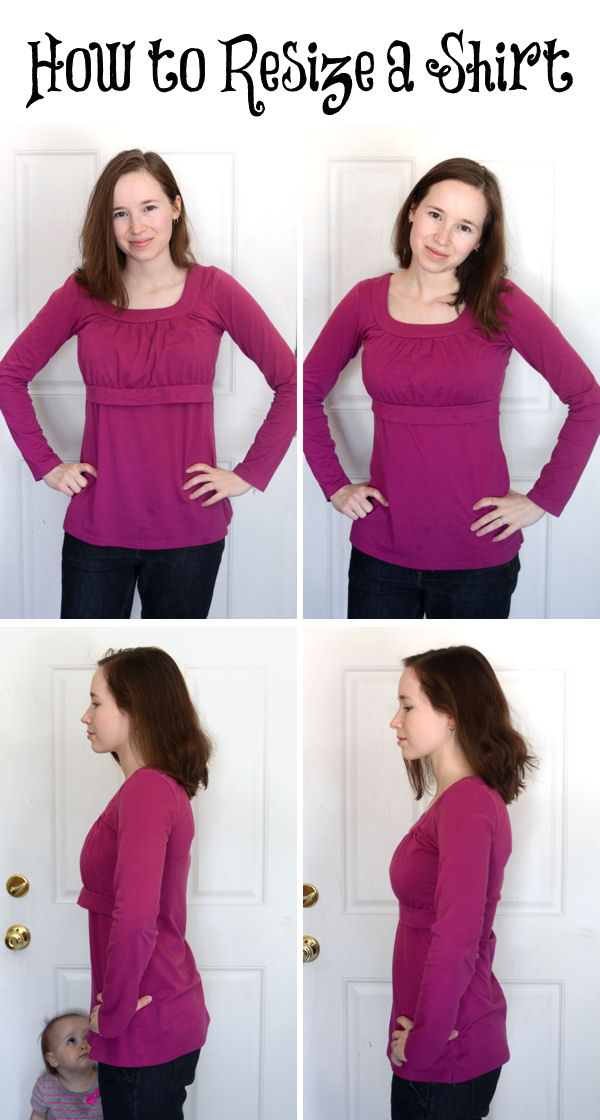
I also used this method to resize a nursing shirt.


How to Resize a Shirt

Here's the before and after. Helen decided to photobomb my before picture.


And that's all!

Make sure to send me pictures if you use my method to resize your shirt.
And leave me a comment if you have any questions.

xoxo
Erica


How to Resize a Shirt


Note: Links are affiliate.
A Cowl for Helen (Free Pattern)

A Cowl For Helen
A Cowl For Helen
A Cowl For Helen
A Cowl For Helen
A Cowl For Helen
Cowl: made by me | Dress: Liberty of London for Target (thrifted) | Sweater: George (hand-me-down)


I had some leftover yarn from my Cowardly Cowl, so I decided to make a matching cowl for Helen. I found a simple cowl pattern to help determine how much to cast on. Then I knitted a seed stitch border and a stockinette middle. 

I wrote up the pattern in case you're interested in making it for yourself:


A Cowl for Helen
based off of the pattern "Kids Cowl"
Ravelry Pattern Page

Materials:
About 60-80 yards of worsted weight yarn (I used Malabrigo Worsted in Pink Frost)
US size 8 (5 mm) 16-inch circular needles
Stitch holder

Seed Stitch:
Row 1: *Knit 1, Purl 1* - repeat to end of row
Row 2: *Purl 1, Knit 1* - repeat to end of row

Stockinette Stitch:
Knit every row


Pattern:
Cast on 72 stitches using the German long tail cast on. Join in the round, being careful not to twist your stitches.

Knit one row.

Work in the seed stitch pattern for 4 rows.

Work in stockinette stitch until the cowl is your desired length (I knitted until it measured 4 inches from the cast on edge).

Work in seed stitch pattern for 4 rows.

Knit one row.

Bind off loosely. Weave in any loose ends.

Enjoy!


Knitting Project: Cowardly Cowl

Knitting Project: Cowl

A while back I purchased some yarn to make my sister a hat (I'll be posting about that sometime, hopefully), and I picked up a ball of Malabrigo Worsted to save on shipping. I had intended to make Helen a hat out of it, but she received so many nice hats as gifts that I didn't need to go to the trouble! Thus I had a lovely ball of yarn just begging to be made into something purdy.
I settled on this pattern. It knit up very quickly and I LOVE the stitch pattern. I'm thinking I'll make Helen a cowl out of the leftover yarn.


Here are the details in case you're interested in making it yourself:

Pattern: Cowardly Cowl
Yarn: Malabrigo Worsted in Pink Frost
Needles: Size Eight 16-inch circular needles

The pattern suggested that you knit until the cowl measures 9 inches from the cast on edge. I only knitted until it measured 5 inches until I began the seed-stitch edging. 


What have you been creating/dreaming of creating lately?

DIY Fall/Autumn Leaf Garland


040

Time for an autumn tutorial!
033
Here’s what you’ll need to make your own fall leaf garland: a length of yarn, a couple of pins or nails, miniature wooden clothespins and pressed or wax-dipped leaves.
031
  • Measure how far up the wall you’d like to place your garland (I went slightly above eye level), and place a pin or nail in that spot. I used a pin because that leaves the least damage on our sheetrock walls. If you don’t mind poking holes in your walls, you could always use nails or whatever else you’d like.
  • Measure up the same distance where you’d like your garland to end and place the other pin in the wall.
  • Tie one end of the yarn onto one of the pins. Stretch it across to the other pin and tie in place. Make sure to pull the string a bit more taught than you’d like the finished garland to hang since the leaves will weigh it down.
  • Clip your leaves to the yarn with the mini clothespins at even intervals.
  • And you’re finished!
041
I plan to reuse this clothesline for winter/Christmas – maybe hang pine cones and tiny pine branches interspersed with miniature Christmas tree globes.
What are you doing to decorate your house for fall?

8 Responses to DIY Fall/Autumn Leaf Garland

  1. Megan 
    That’s a neat idea!
  2. Kathryn Grace 
    Very fun and easy! Great that you can quickly change out decor by clipping new items to the line.
    By the way… I love the block font you used – could I ask the name of it and if you found it free or bought it?
  3. Erica Lea 
    Kathryn: Yes, I can’t wait to try something else for Christmas. :) Yeah, I really like that font. It’s called “Sketch Block” and I got it for free here: {link}